
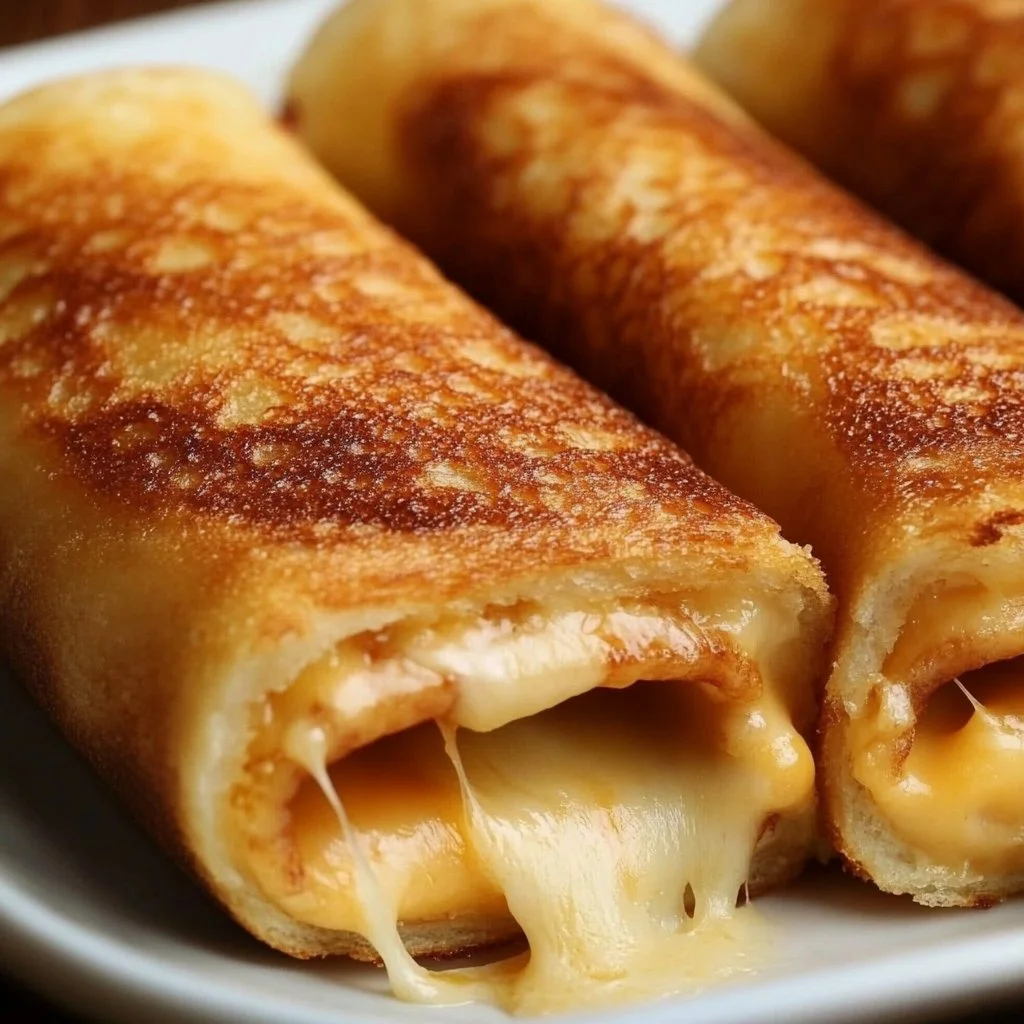
I first made these crispy cheesy roll-ups on a rainy afternoon when the kids wanted something warm, cheesy, and fast. They’re little bread-and-cheese cylinders pan-fried until golden and crunchy, perfect for an after-school snack, quick lunch, or easy appetizer. They take minutes to assemble, require pantry-staple ingredients, and deliver that gooey center everyone loves. If you enjoy simple, hand-held cheesy treats, you might also like crispy oven-baked cheesy tacos for another fuss-free option.
Why you’ll love this dish
This recipe is a winner when you want something fast, budget-friendly, and universally appealing. It uses only four slices of bread and four slices of cheese, so it’s perfect when you need to stretch a small number of ingredients into a satisfying snack. The exterior crisps up beautifully while the cheese melts inside, giving you a contrast of textures that kids and adults both appreciate. Make these for casual weeknights, after-school snacks, or as a finger-food starter when friends drop by.
Step-by-step overview
Before you gather ingredients, here’s the simple workflow: flatten each slice of bread, add a single slice of cheese, roll tightly, and pan-fry in a bit of butter until each side is golden. The whole process takes about 10 minutes from start to finish. No deep frying, no long prep—just quick rolling and quick searing.
What you’ll need
- 4 slices of bread (white, sandwich loaf; crusts optional)
- 4 slices of cheese (cheddar or American work best for melt and flavor)
- Butter for spreading and frying (unsalted or salted is fine)
- Marinara sauce or tomato soup for dipping
Notes and substitutions: use thin-sliced bread for easier rolling. If you want a milder or stretchier melt, swap in provolone or mozzarella. For dairy-free diets, try a firm vegan cheese and a plant-based spread.
Directions to follow
- Lay one slice of bread on a cutting board. Using a rolling pin, roll it flat until it’s thin and easy to roll. Repeat with the other slices.
- Place one slice of cheese on each flattened piece of bread. Keep the cheese centered for an even melt.
- Tightly roll each bread slice around the cheese, tucking the seam underneath to help them hold together. If needed, pinch the seam or secure with a toothpick.
- Heat a skillet over medium heat and add a small pat of butter. Swirl to coat the pan.
- Place the roll-ups seam side down and cook without moving for 2 to 3 minutes until the bottom is golden. Turn and brown all sides, about 2 to 3 minutes per side.
- Remove the roll-ups from the skillet and let them rest a minute. Serve warm with marinara sauce or a bowl of tomato soup for dipping.

Best ways to enjoy it
Serve these roll-ups hot so the cheese stays gooey. They’re excellent with a small salad for a light meal, alongside a cup of tomato soup for dipping, or as part of a party platter with raw veggies and pickles. For a heartier snack platter, pair them with crunchy pickled vegetables and a fruit bowl. If you want another crowd-pleasing cheesy option for gatherings, try pairing with BBQ chicken cheesy garlic-style bites elsewhere on the menu.
Storage and reheating tips
Store cooled leftovers in an airtight container in the refrigerator for up to 3 days. To reheat, preheat a skillet over medium and warm the roll-ups seam side down for a minute per side until crispy and heated through. You can also reheat on a baking sheet in a 350°F oven for 6 to 8 minutes. If you plan to freeze, flash-freeze the cooked roll-ups on a tray, then transfer to a freezer bag for up to 1 month; reheat from frozen in a 350°F oven for 10 to 12 minutes. For safety, ensure reheated cheese reaches a hot, steamy temperature before serving.
Pro chef tips
- Roll the bread thin but not paper-thin; too thin and it will tear. Aim for a slightly stretched slice that still holds the filling.
- Use the seam-down trick in the skillet so the roll seals while cooking and prevents cheese leakage.
- Keep heat at medium; too hot will brown the outside before the cheese melts, too low and you lose crispness.
- A small amount of butter in the pan creates even browning and a classic flavor—use just enough to coat.
- If cheese escapes while cooking, catch it with a spatula and scrape the pan to avoid burning.
Creative twists
- Add a thin spread of pesto or mustard inside before rolling for an herby or tangy lift.
- Slide in a few thin-sliced roasted peppers or baby spinach for extra color and nutrition.
- Make them spicy by adding red pepper flakes to the cheese or serving with a sriracha-mixed dipping sauce.
- For a lower-carb option, use thinly sliced keto bread or low-carb wraps.
- Try air-frying: cook at 375°F for 5 to 7 minutes, flipping halfway, for a fuss-free crisp.
Helpful answers
Can I make these ahead of time?
Yes. You can assemble them, place them on a baking sheet, cover tightly, and refrigerate for a few hours before cooking. For longer storage, cook them, cool completely, and refrigerate for up to 3 days or freeze for up to 1 month.
What cheese melts best without getting oily?
American-style and medium cheddar offer reliable meltiness and a creamy texture without separating. Younger cheeses melt better than aged, so avoid very aged cheddar if you want a smooth interior.
Are these safe to freeze and reheat?
Yes. Freeze cooked roll-ups in a single layer until solid, then transfer to a sealed bag. Reheat from frozen in a 350°F oven for about 10 to 12 minutes until heated through, or warm in a preheated skillet, turning to brown each side.
Can I bake these instead of pan-frying?
You can bake them on a parchment-lined sheet at 400°F for 8 to 10 minutes, turning once, until golden and crisp. Baking is a hands-off option but pan-frying typically gives a quicker, more even browning.
What if my bread tears while rolling?
If the bread tears, gently press it back together with your fingers or patch it with a small piece of another slice. Rolling more slowly and not over-thinning the bread helps prevent tears.
PrintCrispy Cheesy Roll-Ups

Quick and easy roll-ups filled with gooey cheese, pan-fried until crispy and golden. Perfect for snacks, lunches, or appetizers!
- Prep Time: 10 minutes
- Cook Time: 10 minutes
- Total Time: 20 minutes
- Yield: 4 servings 1x
- Category: Snack
- Method: Pan-Frying
- Cuisine: American
- Diet: Vegetarian
Ingredients
- 4 slices of white sandwich bread (crusts optional)
- 4 slices of cheddar or American cheese
- Butter for spreading and frying
- Marinara sauce or tomato soup for dipping
Instructions
- Lay one slice of bread on a cutting board. Using a rolling pin, roll it flat until it’s thin and easy to roll. Repeat with the other slices.
- Place one slice of cheese on each flattened piece of bread. Keep the cheese centered for an even melt.
- Tightly roll each bread slice around the cheese, tucking the seam underneath.
- Heat a skillet over medium heat and add a small pat of butter. Swirl to coat the pan.
- Place the roll-ups seam side down and cook for 2 to 3 minutes until the bottom is golden. Turn and brown all sides, about 2 to 3 minutes per side.
- Remove the roll-ups from the skillet and let them rest for a minute. Serve warm with marinara sauce or tomato soup.
Notes
For easier rolling, use thin-sliced bread. For a milder melt, swap in provolone or mozzarella. Dairy-free options include firm vegan cheese.
Nutrition
- Serving Size: 1 roll-up
- Calories: 250
- Sugar: 2g
- Sodium: 400mg
- Fat: 15g
- Saturated Fat: 9g
- Unsaturated Fat: 5g
- Trans Fat: 0g
- Carbohydrates: 23g
- Fiber: 1g
- Protein: 8g
- Cholesterol: 25mg


