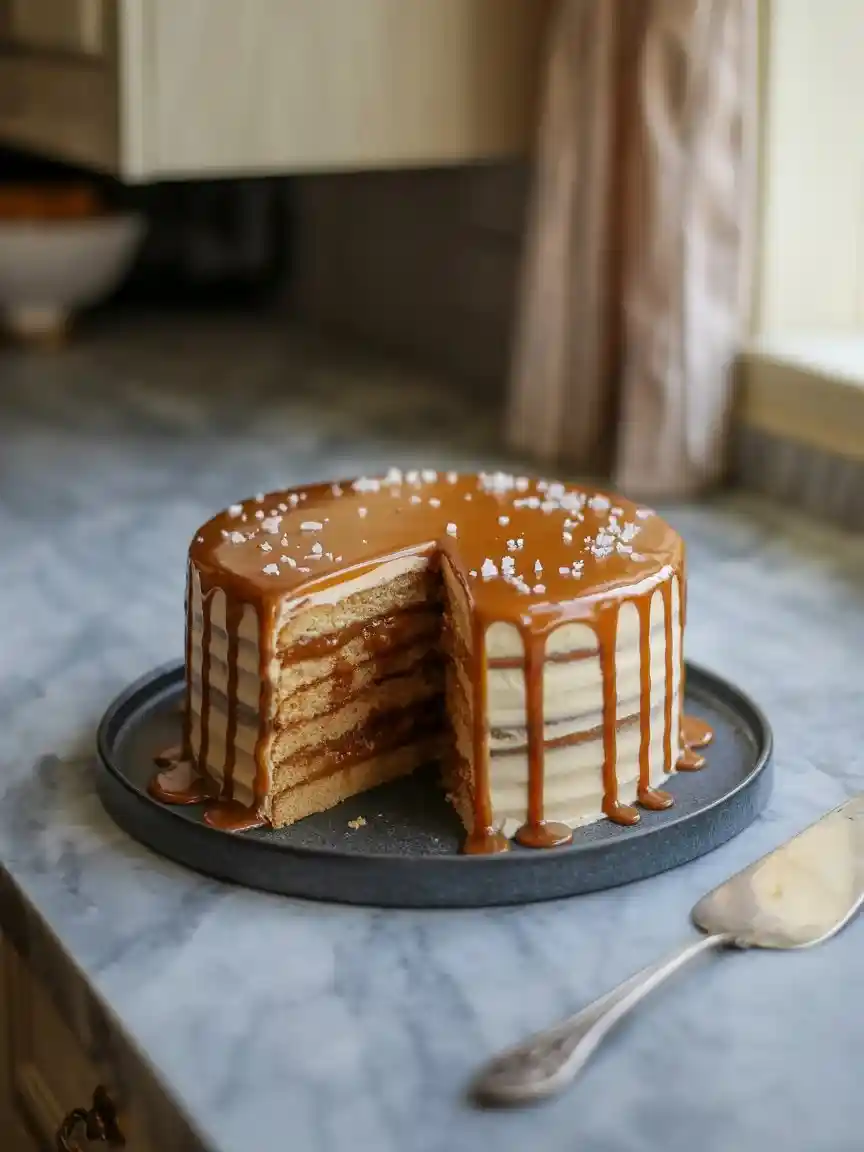
Salted Honey Pie is a delicious dessert that perfectly combines sweet and salty flavors, making it an irresistible treat for everyone. This pie features a creamy custard made from honey, egg yolks, and heavy cream, all nestled in a flaky pie crust. Topped with a sprinkle of flaky sea salt, it creates a delightful balance that enhances every bite.
The beauty of Salted Honey Pie lies not only in its amazing taste but also in its simplicity. It requires only a handful of common ingredients, making it easy to whip up in your kitchen. Whether you are looking for a dessert to share at a family gathering or a sweet treat just for yourself, this pie is sure to impress. Plus, the contrast between the rich filling and the crunchy salt makes each slice a delightful experience.
So why not treat yourself and your loved ones with this lovely pie? It promises to be a hit at any occasion.
Why make this recipe
Making Salted Honey Pie is a great way to enjoy a delicious dessert that is simple to prepare. The unique flavor combination of sweet honey and salty flakes creates a delightful contrast that everyone will enjoy. This pie can easily serve as a show-stopping dessert for gatherings or just a sweet treat for yourself. The best part is that it involves straightforward steps and common ingredients, making it accessible to both experienced and novice bakers. Give it a try and let its wonderful flavors shine!
How to make Salted Honey Pie
Ingredients
- Pie crust (refrigerated or homemade)
- 4 large egg yolks, lightly beaten
- 2 1/2 cups (600 ml) heavy whipping cream
- 2/3 cup (150 g) packed light brown sugar
- 1/3 cup (45 g) cornstarch, sifted
- 1/2 tsp salt
- 1/2 cup (120 ml) honey
- 2 tsp vanilla extract
- Flaky sea salt, for sprinkling
Directions
Start by preparing the pie crust in a deep dish 8-inch pie pan or a 9-inch pie pan. There’s no need to pre-bake it, so chill it in the fridge while making the filling. A cold crust helps it bake evenly and hold the filling well. If using a homemade crust, let it chill to avoid shrinking during baking. For added flavor, consider sprinkling a little sugar on top of the crust before baking for a sweet crunch.
In a medium saucepan, mix the heavy whipping cream, brown sugar, cornstarch, and salt. Set over medium heat and stir constantly until it comes to a rolling boil and thickens slightly. Enjoy the rich aroma of caramelizing brown sugar as it heats.
Once it starts to boil, remove it from the heat. Temper the egg yolks by ladling a small amount of the hot cream mixture into them while whisking constantly. Gradually add more cream to the yolks while whisking until smooth. This step is important to avoid scrambling the eggs.
After tempering, pour the egg mixture back into the saucepan with the remaining cream. Stir in the honey and vanilla extract until well combined.
Pour the creamy custard into the chilled pie crust. Make sure the filling is slightly warm and spread it evenly to avoid air pockets.
Bake the pie in a preheated oven at 375°F (190°C) for about 40-45 minutes, until it bubbles and the top turns golden brown. It may look a bit jiggly, but this is normal; it will firm up as it cools.
Let the pie cool on the counter until it reaches room temperature, then refrigerate until completely chilled. This waiting time helps set the custard for a perfect texture.
Before serving, sprinkle flaky sea salt over the top to enhance the sweetness and create a nice contrast. Slice the pie into 8-10 portions and serve chilled, and enjoy the smooth creamy filling and crunchy crust!
How to serve Salted Honey Pie
Serve Salted Honey Pie chilled, preferably after sprinkling some flaky sea salt on top for added flavor. It’s perfect on its own, but it pairs beautifully with a cup of coffee or tea. For an extra touch, consider adding whipped cream or fresh fruit on the side. This pie is fantastic for celebrations, casual family dinners, or even an afternoon treat with friends. The elegant presentation and delightful flavor guarantee it will be a hit no matter the occasion!
How to store Salted Honey Pie
Store any leftover Salted Honey Pie in the refrigerator. Cover it with plastic wrap or foil to maintain its freshness and prevent it from absorbing any unwanted odors. It can last in the fridge for about 3-4 days. If you want to keep it for longer, consider freezing the pie. Just make sure to wrap it tightly with plastic wrap, followed by aluminum foil. When ready to eat, let it thaw in the refrigerator before serving.
Tips to make Salted Honey Pie
To make the best Salted Honey Pie, follow these simple tips:
- Chill your pie crust to prevent shrinking.
- When heating the cream mixture, always stir constantly to avoid lumps.
- Take your time when tempering the egg yolks; rushing can lead to scrambled eggs instead of creamy custard.
- Let the pie cool completely before refrigerating for the best texture.
- Experiment with the amount of sea salt on top to find your perfect balance between sweet and salty.
Variation
You can customize Salted Honey Pie by adding different flavors. For a twist, consider using maple syrup instead of honey for a unique taste. You can also infuse the custard with citrus zests, such as lemon or orange, to add a refreshing touch. If you want a different texture, try adding chopped nuts or chocolate chips in the filling for extra crunch and flavor.
FAQs
Can I use store-bought pie crust?
Yes, store-bought pie crust works great for this recipe and saves time. Just ensure it’s chilled before filling.How do I know when the pie is done?
The pie is done when the top is golden brown and slightly jiggly in the center. It will firm up as it cools.Can I make this pie in advance?
Yes, you can make the pie one day in advance. Just store it in the refrigerator until ready to serve.What can I substitute for honey?
You can use maple syrup or agave syrup as an alternative, but it will change the flavor a bit.Is it necessary to use sea salt?
While flaky sea salt adds a delicious contrast, you can use regular salt if that’s what you have. However, the texture may not be the same.

Linda shares simple, family-friendly desserts with a playful twist — mostly cakes and cookies you can bake on busy days.
👉 Meet Linda and see her favorite recipes

