

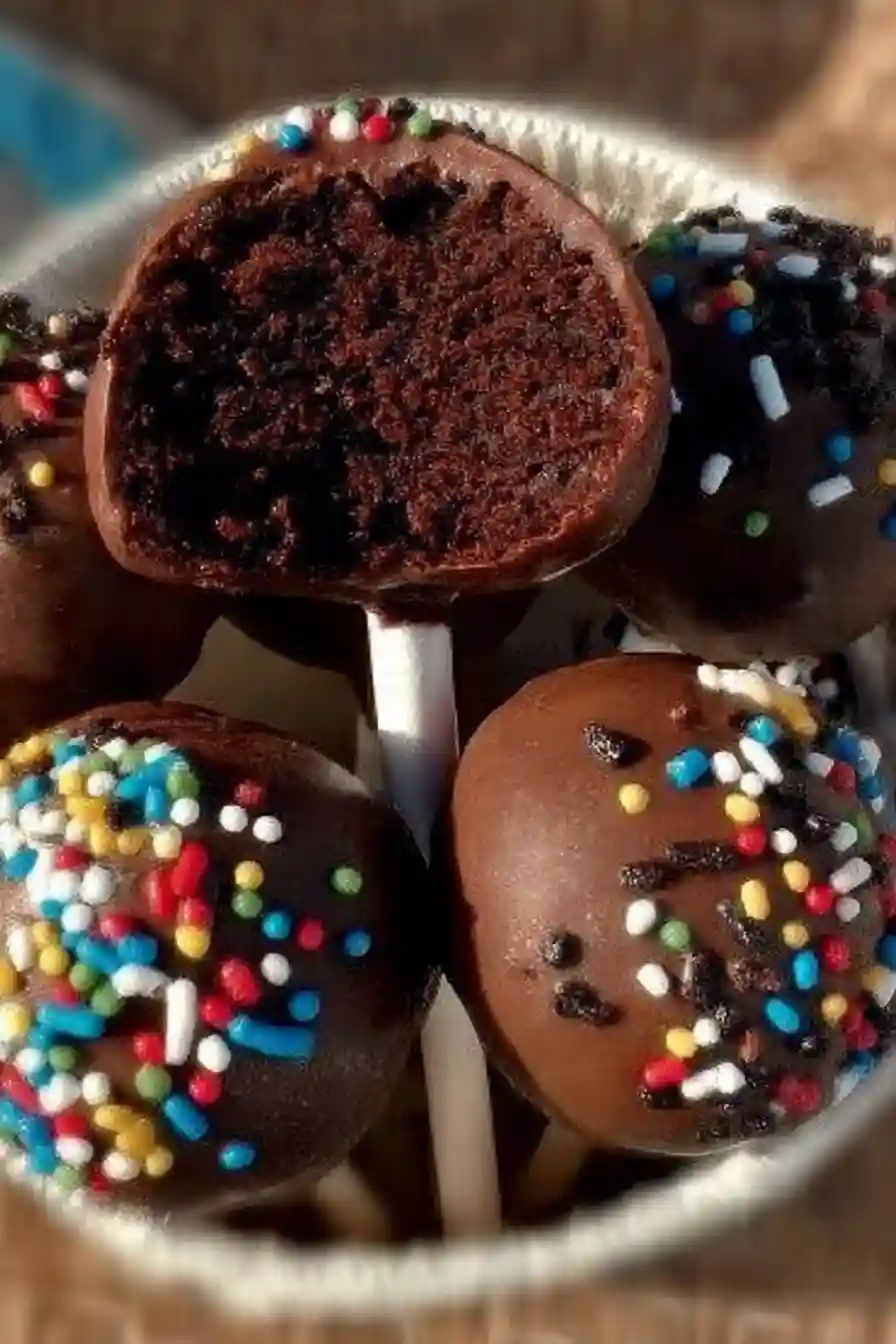
Chocolate Cake Pops are a delightful treat that combines the richness of chocolate cake with the fun of lollipop-style desserts. These bite-sized delights are perfect for any occasion, whether it’s a birthday party, a family gathering, or just a sweet snack for yourself. The great thing about cake pops is their versatility; you can customize them with different flavors and decorations. With a soft, moist cake center and a smooth chocolate coating, they are sure to please any chocolate lover. Making Chocolate Cake Pops is an enjoyable and straightforward process that the whole family can participate in. Plus, they make for great gifts or party favors!
As you prepare these delicious treats, you’ll appreciate the satisfaction of creating something both fun and beautiful. Decorating them with colorful sprinkles or other toppings adds to the visual appeal and can bring out everyone’s creative side. Whether you’re an experienced baker or new to the kitchen, you’ll find this recipe easy to follow and hard to resist. So gather your ingredients, roll up your sleeves, and get ready to indulge in the delightful world of homemade Chocolate Cake Pops!
Why make this recipe
Making Chocolate Cake Pops is a fun and inventive way to enjoy cake. They are easy to share at gatherings, and their small size makes them a wonderful sweet treat without overindulging. With this recipe, you can unleash your creativity by experimenting with different decorations, flavors, and fillings. These pops are also a fantastic way to involve kids in the kitchen, making for an engaging activity. Whether for a celebration or just because, these delicious bites will be a hit with friends and family!
How to make Chocolate Cake Pops
Ingredients:
- 1 box Chocolate Cake Mix
- Additional ingredients to make the cake per box instructions
- 12 oz Chocolate Melting Wafers
- Sprinkles (for decoration)
- 1/2 cup Salted Butter (softened to room temperature)
- 8 oz Plain Cream Cheese (softened to room temperature)
- 2 tsp Vanilla Extract
- 3 cups Powdered Sugar
Directions:
- Prepare and bake the chocolate cake mix according to package instructions. (Note: I typically substitute the water for milk for added richness).
- Once the cake is baked, let it cool completely in the pan before transferring it to a cooling rack.
- When the cake is cooled, make the cream cheese frosting. In a large mixing bowl, add the butter, cream cheese, vanilla extract, and 1 cup of powdered sugar.
- Use an electric hand mixer to combine the ingredients. Scrape the sides and add another cup of powdered sugar, mixing again.
- Add the last cup of powdered sugar and mix until smooth and creamy.
- Once the frosting is ready, crumble the cake into a separate large mixing bowl.
- Add about 1 cup of frosting to the crumbled cake and use the electric hand mixer to combine.
- If needed, add an additional 1/4 cup of frosting until it achieves a smooth texture that can be rolled into balls (I used about 1.5 cups of frosting).
- Chill the cake pop batter in the fridge for 30-45 minutes.
- After chilling, scoop about 1.5 tbsp of batter and roll it into a ball. Place it on a baking sheet lined with parchment paper.
- Repeat until all the dough has been used. Place the baking sheet in the fridge while you melt the chocolate wafers.
- Melt the chocolate wafers in a microwave-safe dish. Heat in 30-second intervals, mixing in between until fully melted.
- Remove the cake pop balls from the fridge. Dip the end of a cake pop stick into the melted chocolate, then insert it into a cake pop ball. Place it back on the parchment paper.
- Repeat until each cake pop has a stick.
- Chill the baking sheet again for 30-45 minutes in the fridge or 20-30 minutes in the freezer to let the chocolate set.
- If needed, re-melt the candy wafers.
- Dip each cake pop into the melted chocolate until fully covered. Let any excess chocolate drip off.
- Place the coated pops back on the parchment paper and immediately top them with sprinkles before the chocolate hardens.
- Repeat until all cake pops are coated.
- Allow the cake pops to set completely at room temperature, or place them in the fridge to achieve a nice crunch on the outside.
- Enjoy!
How to serve Chocolate Cake Pops
Chocolate Cake Pops can be served on their own as a sweet treat or arranged on a decorative platter for parties. They also make excellent gifts when wrapped in decorative bags or boxes. These treats are sure to bring smiles to both kids and adults alike.
How to store Chocolate Cake Pops
To store your Chocolate Cake Pops, place them in an airtight container at room temperature if you plan to eat them within a few days. If you want to keep them longer, refrigerate them for up to two weeks. Just be sure to allow them to come to room temperature before serving to regain their ideal texture.
Tips to make Chocolate Cake Pops
- Substitute milk for water in the cake mix for extra richness.
- Use quality chocolate melting wafers for the best coating.
- Experiment with various decorations like chocolate drizzles, nuts, or coconut flakes.
- Ensure the cake pop batter is chilled enough to hold its shape before dipping.
- If the chocolate isn’t melting well, add a small amount of vegetable oil to help it along.
Variation
For a fun twist, consider using white chocolate melting wafers or flavored cake mixes, like red velvet or vanilla. You can also add various fillings like peanut butter or marshmallow fluff for added surprise in the center!
FAQs
Can I use store-bought frosting instead of making my own?
Yes, you can use store-bought frosting to save time, but homemade frosting offers a fresher taste.
How long do Chocolate Cake Pops last?
They can last up to 1-2 weeks in the fridge, but are often best enjoyed within the first few days.
Can I freeze Chocolate Cake Pops?
Yes! They freeze well for up to three months. Just make sure they are wrapped securely!
What if my chocolate coating is too thick?
You can thin it out by adding a small amount of coconut oil or vegetable oil while melting.
Why do my cake pops fall off the stick?
This may happen if the cake pop batter is too moist. Ensure it’s tightly packed and chilled adequately before dipping.

Linda shares simple, family-friendly desserts with a playful twist — mostly cakes and cookies you can bake on busy days.
👉 Meet Linda and see her favorite recipes


