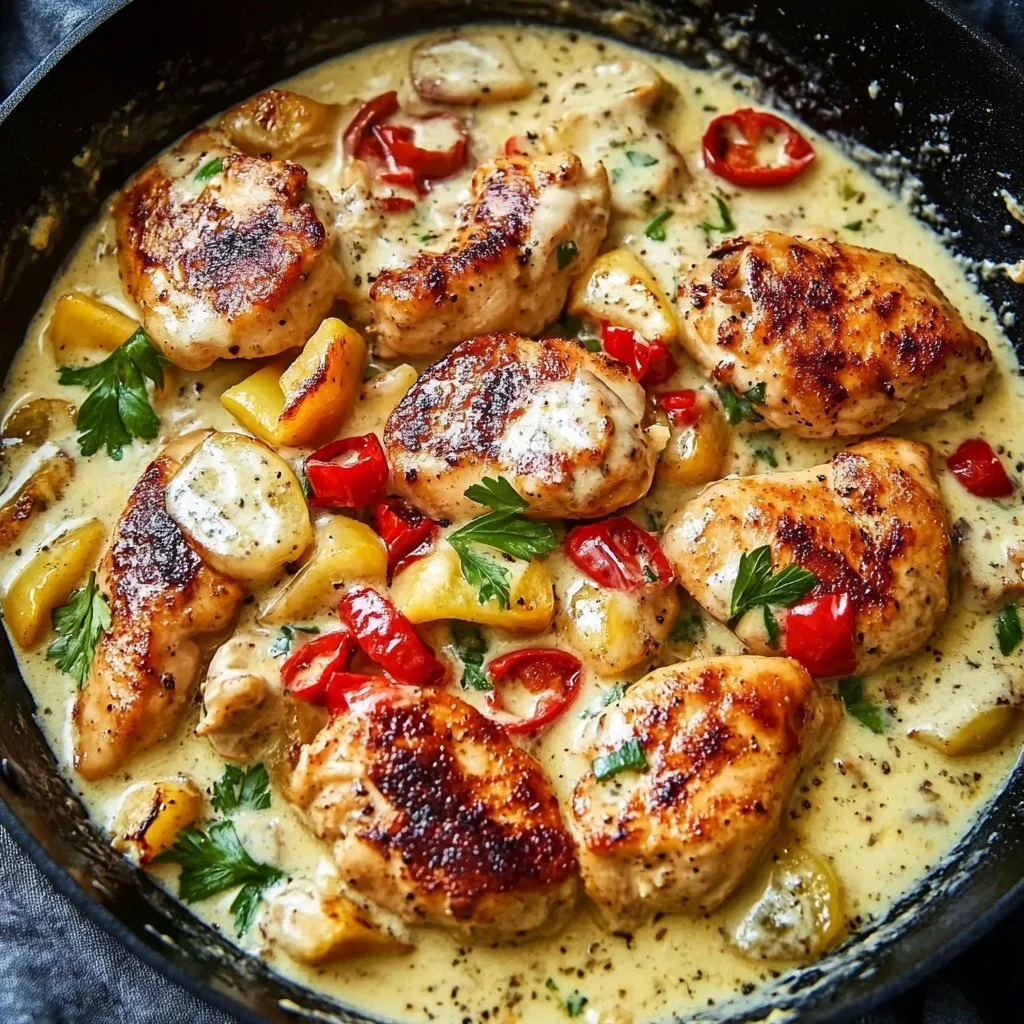

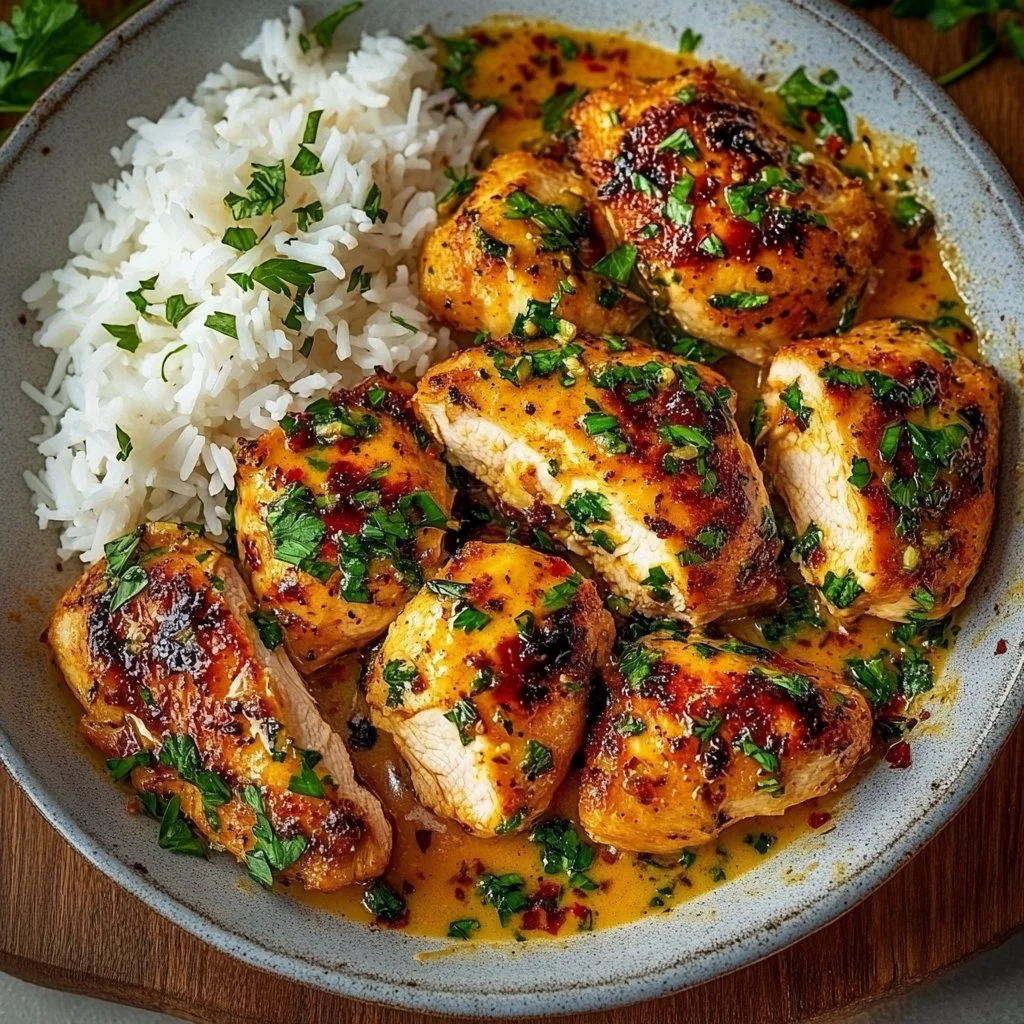
I grew up watching a quick skillet dinner come together in minutes, and this garlic butter chicken is that kind of recipe — humble ingredients and big flavor. It’s simply seasoned chicken seared in butter, finished with bright garlic and parsley, and ready for a weeknight supper or a last-minute guest. If you prefer a no-stovetop option, you can try a hands-off oven approach with this garlic butter baked chicken breast recipe for a similar flavor profile and even easier cleanup.
What makes this recipe special
This recipe sings because it balances speed, comfort, and unmistakable garlic butter richness. With just a few pantry ingredients you get a glossy pan sauce and golden sear without complicated steps. It’s great for busy evenings, works well for picky eaters, and scales up easily for a small dinner party.
“Simple, buttery, and reliably delicious — always on my short list when I need dinner in under 30 minutes.”
Reasons to try it:
- Fast: about 20 minutes from stove to table.
- Minimal ingredients and equipment.
- Flexible: pairs with rice, pasta, or veggies.
- Kid friendly but easy to elevate with herbs or lemon.
Preparing Garlic Butter Chicken
Quick overview of the cooking flow so you know what to expect:
- Season the chicken and, if needed, even out thickness.
- Heat the skillet and melt butter to get a hot, glossy pan.
- Sear the breasts until golden and cooked through.
- Add minced garlic at the end so it becomes fragrant, not bitter.
- Spoon the buttery garlic sauce over the chicken and finish with parsley.
This simple sequence keeps the garlic bright and the butter silky.
Ingredient list
- 2 boneless, skinless chicken breasts
- 4 tablespoons butter (unsalted recommended for control)
- 4 cloves garlic, minced
- Salt and black pepper to taste
- Parsley, chopped for garnish
Notes and substitutions:
- If your chicken breasts are uneven, pound or slice them to an even thickness for uniform cooking.
- For a lighter fat option, substitute 2 tablespoons butter plus 2 tablespoons olive oil.
- Use fresh garlic for the best flavor; garlic powder won’t provide the same fragrance.
How to prepare it
- Pat the chicken dry, then season both sides with salt and pepper. Even seasoning gives the best crust.
- Heat a large skillet over medium-high heat and add the butter. Let it melt and foam but not burn.
- Add the chicken breasts to the hot skillet. Cook undisturbed until the first side is golden, about 6 to 7 minutes.
- Flip the chicken and cook the second side until the chicken is cooked through, another 6 to 7 minutes. A meat thermometer should read 165°F (74°C) in the thickest part.
- Reduce heat to medium-low, add the minced garlic to the pan, and sauté for 1 to 2 minutes until fragrant. Do not let the garlic brown.
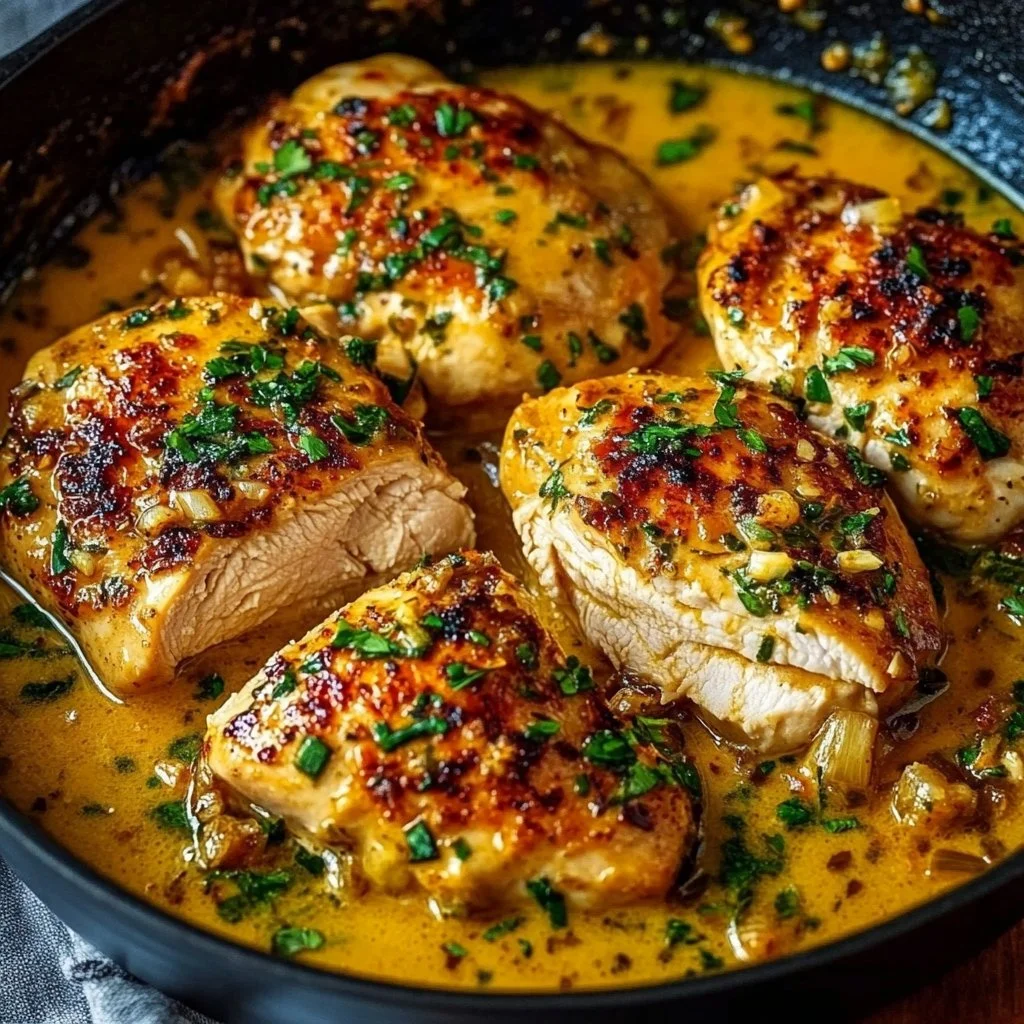
- Tilt the pan and spoon the garlic butter over each breast so the sauce coats the chicken.
- Remove the chicken from the pan and let it rest 3 to 5 minutes. Sprinkle with chopped parsley and serve immediately.
What to serve it with
This chicken is a terrific base for many plates. Try it with buttery mashed potatoes, steamed rice, or a crisp green salad for a light meal. For a saucier, pasta-friendly pairing, the garlic butter chicken bites version served over noodles is an easy crowd pleaser — see the garlic butter chicken bites with pasta for inspiration. Roasted vegetables or sautéed green beans round the plate nicely.
How to store & freeze
- Refrigerator: Cool leftovers to room temperature, then store in an airtight container for up to 3 to 4 days.
- Freezer: Place cooled pieces in a freezer-safe container or bag for up to 2 months. Freeze the sauce and chicken together for best flavor.
- Reheating: Reheat gently in a skillet over low heat with a splash of broth or water to revive the sauce, or microwave covered in short intervals. Reheat until the internal temperature reaches 165°F (74°C).
- Safety tip: Never leave cooked chicken out at room temperature for more than two hours to avoid bacterial growth.
Pro chef tips
- Even thickness: Pound thicker parts so both sides cook at the same rate. This prevents overcooking while waiting for the center to reach temperature.
- Heat control: Start over medium-high to get a good sear, then lower the heat before adding garlic so it doesn’t burn.
- Butter behavior: Clarified butter or a mix of butter and oil raises the smoke point and reduces burning when cooking at higher heat.
- Garlic timing: Add minced garlic at the end of cooking for aromatic flavor. Burnt garlic tastes bitter and will dominate the dish.
- Resting: Let the chicken rest a few minutes after cooking. Juices redistribute and the meat stays juicier.
Recipe variations
- Creamy lemon garlic: Stir a splash of cream and a squeeze of lemon into the pan after cooking for a quick cream sauce.
- Herb-forward: Add thyme, rosemary, or oregano while spooning butter over the chicken for a herby finish.
- Spicy: Toss in a pinch of red pepper flakes when you add the garlic for a gentle heat.
- Thighs: Use boneless skinless thighs instead of breasts for a juicier, more forgiving option.
- Mushroom garlic: Sauté sliced mushrooms in the pan before returning the chicken for an earthy addition.
Common questions
How long does the chicken take to cook?
Cook time is about 6 to 7 minutes per side for medium-sized breasts over medium-high heat, plus a few minutes of resting. Use an instant-read thermometer to confirm 165°F (74°C) at the thickest point.
Can I use frozen chicken breasts?
Thaw completely before cooking. Frozen or partially frozen chicken cooks unevenly and can result in dry exterior and undercooked interior.
How can I prevent the garlic from burning?
Lower the heat before adding garlic and sauté just 1 to 2 minutes until fragrant. Alternatively, add minced garlic after removing the chicken and briefly warm it in the residual butter off heat.
Is this recipe freezer friendly?
Yes. Cool completely, then freeze in airtight containers for up to 2 months. Thaw overnight in the refrigerator before reheating gently.
Can I make a sauce from the pan drippings?
Yes. After removing the chicken, add a splash of chicken broth or a squeeze of lemon juice to the pan while scraping any browned bits. Simmer briefly and then spoon over the chicken for an extra glossy sauce.
PrintGarlic Butter Chicken

A quick and flavorful garlic butter chicken recipe made with simple ingredients, perfect for weeknight dinners.
- Prep Time: 10 minutes
- Cook Time: 15 minutes
- Total Time: 25 minutes
- Yield: 2 servings 1x
- Category: Main Course
- Method: Skillet
- Cuisine: American
- Diet: Gluten-Free
Ingredients
- 2 boneless, skinless chicken breasts
- 4 tablespoons butter (unsalted)
- 4 cloves garlic, minced
- Salt to taste
- Black pepper to taste
- Parsley, chopped for garnish
Instructions
- Pat the chicken dry, then season both sides with salt and pepper.
- Heat a large skillet over medium-high heat and add the butter.
- Add the chicken breasts to the hot skillet. Cook undisturbed until the first side is golden, about 6 to 7 minutes.
- Flip the chicken and cook the second side until cooked through, another 6 to 7 minutes.
- Reduce heat to medium-low, add the minced garlic, and sauté for 1 to 2 minutes until fragrant.
- Tilt the pan and spoon the garlic butter over each breast.
- Remove the chicken from the pan and let it rest for 3 to 5 minutes.
- Sprinkle with chopped parsley and serve immediately.
Notes
Pound chicken to an even thickness for uniform cooking. Substitute butter with a mix of butter and olive oil for a lighter option.
Nutrition
- Serving Size: 1 serving
- Calories: 320
- Sugar: 1g
- Sodium: 450mg
- Fat: 20g
- Saturated Fat: 10g
- Unsaturated Fat: 8g
- Trans Fat: 0g
- Carbohydrates: 2g
- Fiber: 0g
- Protein: 30g
- Cholesterol: 75mg