

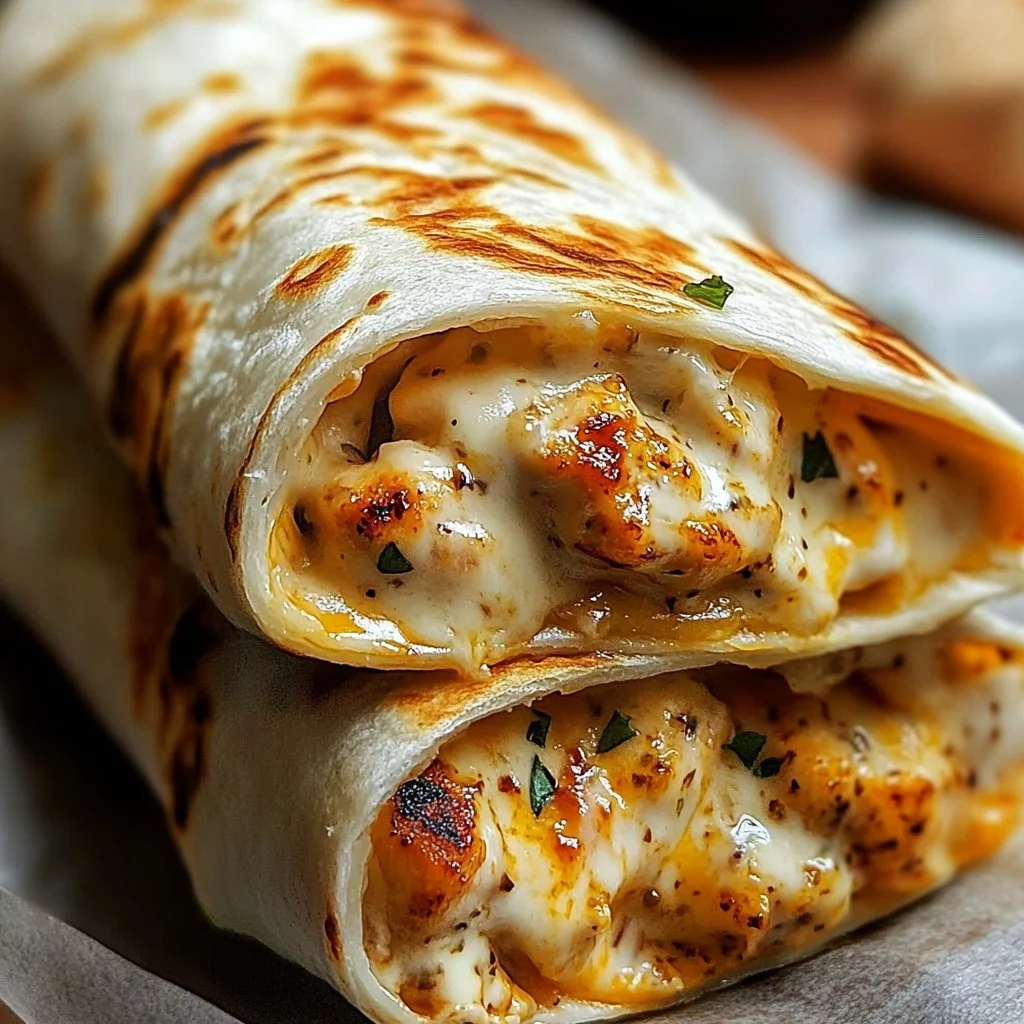
These Cheesy Garlic Chicken Wraps combine shredded cooked chicken, melty cheese, and garlic for a fast, hands-on meal that works well when you have leftover chicken or need a filling weeknight option. If you’d like a slightly different assembly technique and visuals, check this alternate Cheesy Garlic Chicken Wraps guide to compare methods and serving ideas.
Why cook this at home
This recipe stretches two cooked chicken breasts into four substantial wraps, making it budget-efficient while still protein-forward. The ingredient list is short, so you can finish dinner with minimal shopping and prep. Garlic and melting cheese build most of the flavor, which means the recipe adapts well to what you have on hand. Assembly is straightforward, so it fits into busy weeknights or informal lunches when you need something satisfying without fuss.
Preparing Cheesy Garlic Chicken Wraps
- Warm a skillet and soften garlic briefly.
- Add shredded cooked chicken and season lightly.
- Stir in shredded cheese and melt until cohesive.
- Spoon the cheesy chicken onto tortillas.
- Top with lettuce, tomato, or salsa if using.
- Roll the tortillas tightly to hold the filling.
Gather these items
- 2 chicken breasts, cooked and shredded (ensure chicken reached 165°F when originally cooked).
- 1 cup shredded cheese, cheddar or mozzarella.
- 3 cloves garlic, minced.
- 4 large tortillas or wraps.
- 1 tablespoon olive oil.
- Salt and pepper to taste.
- Optional toppings: lettuce, tomato, or salsa.
If you prefer a different cheese texture, swap cheddar for a mild Monterey Jack or a low-moisture mozzarella for less oil release. For a handheld lower-carb version, use large lettuce leaves in place of tortillas.
Cooking method
- Heat the olive oil in a skillet over medium heat.
- Add the minced garlic and cook until fragrant, about 1 minute.
- Stir in the shredded chicken and season with salt and pepper, making sure the chicken was previously cooked to 165°F.
- Add the shredded cheese and mix until melted and well combined.
- Place a portion of the chicken and cheese mixture on each tortilla.
- Add any optional toppings you like, such as lettuce, tomato, or a spoonful of salsa.
- Roll the tortillas tightly to form wraps.
- Remove the skillet from heat.

What to serve it with
Serve these wraps with a crisp side salad dressed simply with lemon and olive oil to cut the richness of the cheese. A bowl of salsa or a quick yogurt-based dip works well for dipping the ends of the wraps. For a heartier plate, offer roasted sweet potato wedges that can be cooked while you assemble the wraps. If you want different textures, lightly toast assembled wraps in a dry skillet for 1 to 2 minutes per side to add a golden exterior; see an alternative take on assembly and toasting in this guide with serving suggestions.
Keeping leftovers fresh
Store any cooled, unwrapped filling in an airtight container in the refrigerator and use within 3 to 4 days. If you want to freeze the filling, place it in a freezer-safe container or bag and freeze flat for up to 2 months; thaw overnight in the fridge before reheating. Reheat filling until it reaches 165°F to ensure safety and quality. Do not leave cooked chicken or assembled wraps at room temperature for more than 2 hours to avoid food-safety risks.
Tricks for success
- Mince the garlic finely so it softens quickly and blends evenly through the chicken.
- Shred chicken into small, uniform pieces so the cheese coats every bite.
- Grate cheese fresh from a block for better melting and less oily separation.
- Warm tortillas briefly in a dry skillet or microwave for 10 seconds to prevent cracking while rolling.
- Use medium heat when melting the cheese to avoid burning the garlic or drying the chicken.
Creative twists
- Swap cheddar for pepper jack and add diced jalapeño for a spicy version.
- Add black beans and corn to the chicken mixture for more texture and fiber.
- Use a mixture of Romaine and shredded cabbage as a crunchy topping instead of plain lettuce.
- Make it herb-forward by stirring chopped cilantro or parsley into the warm cheese before assembling.
- For a lighter option, replace half the cheese with a smear of Greek yogurt mixed with minced garlic and lime.
Helpful answers
Can I use rotisserie or leftover chicken for this recipe?
Yes, rotisserie or leftover shredded chicken works well and saves time; confirm the chicken originally reached 165°F during cooking to ensure it is safe to use.
How long does the filling keep in the fridge and can I freeze assembled wraps?
The filling keeps 3 to 4 days in the refrigerator. You can freeze the filling for up to 2 months; assembled wraps do not freeze as well because tortillas can become soggy.
What’s the easiest way to melt the cheese evenly without overcooking the garlic?
Keep the skillet at medium heat and add the cheese only after the garlic has softened. Stir constantly until the cheese just melts to avoid further cooking the garlic.
Can I make these vegetarian?
Replace shredded chicken with shredded cooked beans, seasoned crumbled tofu, or pulled jackfruit and proceed the same way; ensure any protein substitute is cooked to the recommended temperature for that ingredient.
These wraps are quick to assemble and forgiving with substitutions, so try them with what you have on hand and note which cheese and topping combinations you prefer. If you test one of the variations, save a photo or note of the tweak so you can repeat it the next time. Share how you customized yours so others can try adjustments that worked for you.
PrintCheesy Garlic Chicken Wraps

These wraps combine shredded chicken, melting cheese, and garlic for a fast and satisfying meal.
- Prep Time: 10 minutes
- Cook Time: 10 minutes
- Total Time: 20 minutes
- Yield: 4 servings 1x
- Category: Main Course
- Method: Stovetop
- Cuisine: American
- Diet: None
Ingredients
- 2 chicken breasts, cooked and shredded
- 1 cup shredded cheese (cheddar or mozzarella)
- 3 cloves garlic, minced
- 4 large tortillas or wraps
- 1 tablespoon olive oil
- Salt and pepper to taste
- Optional toppings: lettuce, tomato, or salsa
Instructions
- Heat the olive oil in a skillet over medium heat.
- Add the minced garlic and cook until fragrant, about 1 minute.
- Stir in the shredded chicken and season with salt and pepper.
- Add the shredded cheese and mix until melted and well combined.
- Place a portion of the chicken and cheese mixture on each tortilla.
- Add any optional toppings you like.
- Roll the tortillas tightly to form wraps.
- Remove the skillet from heat.
Notes
Store any cooled, unwrapped filling in an airtight container in the refrigerator and use within 3 to 4 days. The filling can be frozen for up to 2 months.
Nutrition
- Serving Size: 1 wrap
- Calories: 350
- Sugar: 2g
- Sodium: 600mg
- Fat: 16g
- Saturated Fat: 7g
- Unsaturated Fat: 7g
- Trans Fat: 0g
- Carbohydrates: 30g
- Fiber: 2g
- Protein: 25g
- Cholesterol: 75mg


")
")
