
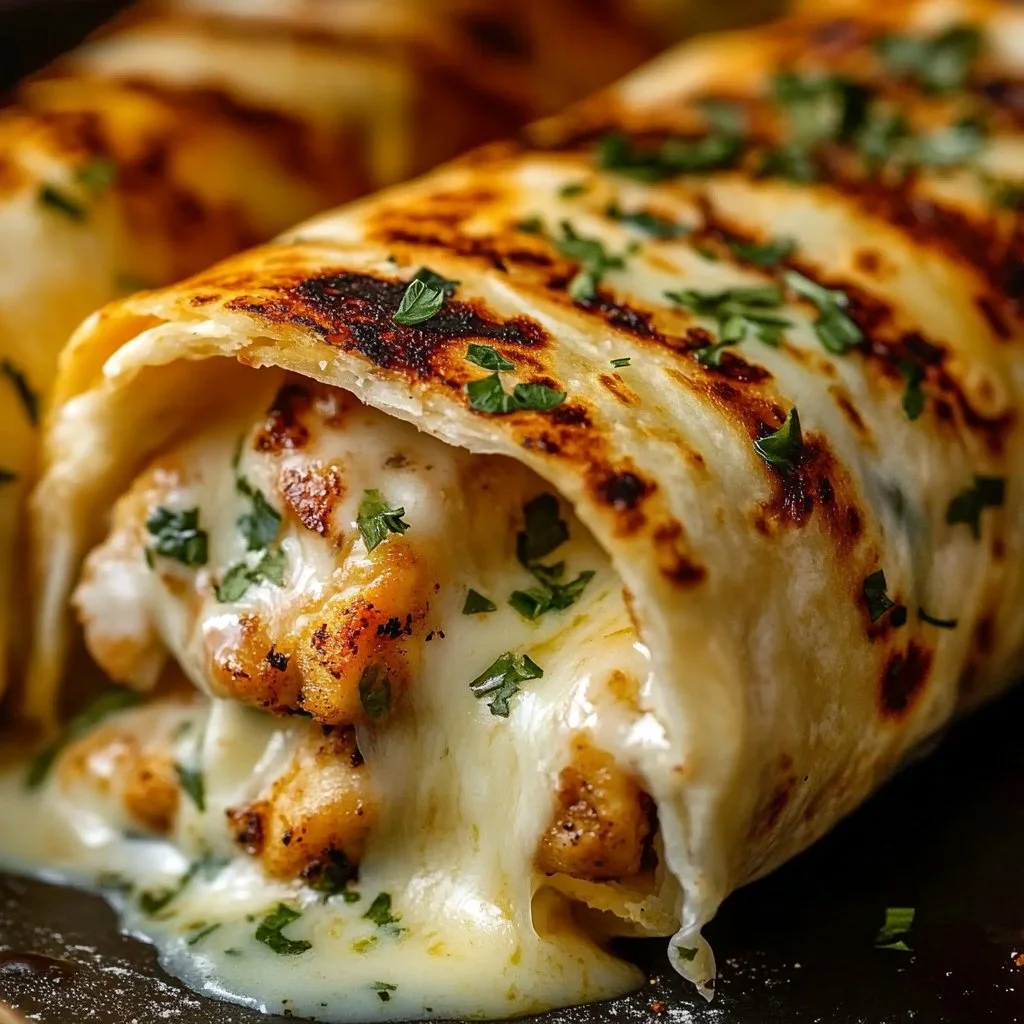
I’ve been making these low carb cheesy garlic chicken wraps for quick weeknight dinners and the results always disappear faster than I can plate them. They’re a simple mix of shredded chicken, melty cheeses, garlic, and cream cheese wrapped in a low carb tortilla and crisped until the edges ooze with flavor. If you like handheld meals that are fast, satisfying, and low on carbs, this is one to keep in regular rotation. For another take on a similar filling and technique, check this cheesy chicken garlic wraps recipe that inspired some of my timing tips.
Why you’ll love this dish
This recipe is perfect when you want something comforting but not fussy. It’s ready in about 15 to 20 minutes if your chicken is already cooked, it uses affordable pantry staples, and it’s easy to adapt for kids or picky eaters. The combination of cream cheese with shredded mozzarella and cheddar creates a creamy, stringy melt that holds the filling together and keeps the wrap from falling apart as you eat.
“Fast to mix, crunchy on the outside, and so cheesy inside — our family calls this the five-minute miracle.”
Reasons this works well:
- Quick assembly when you have leftover or rotisserie chicken.
- Low carb friendly while still feeling indulgent.
- Crowd-pleaser texture: crispy exterior, gooey interior.
- Flexible: add greens, swap cheeses, or turn into a meal prep option.
Preparing Low Carb Cheesy Garlic Chicken Wraps
Step-by-step overview
- Warm the tortillas so they’re pliable.
- Mix the shredded chicken with cheeses, cream cheese, garlic, and herbs.
- Fill and roll each wrap tightly.
- Pan-sear seam-side down until golden and the cheese melts.
This gives you a clear picture before you start so you can set up a fast assembly line in the kitchen.
What you’ll need
- 2 cups cooked chicken breast, shredded (rotisserie chicken works great for speed)
- 1 cup shredded mozzarella cheese
- 1/2 cup shredded cheddar cheese
- 2 cloves garlic, minced (fresh gives the best flavor)
- 1/4 cup cream cheese, softened
- 1 tablespoon olive oil
- 4 large low-carb tortillas or wraps
- 1 tablespoon fresh parsley, chopped
- Salt and pepper, to taste
- 1 handful baby spinach, optional (adds color and a mild bite)
Notes and substitutions:
- Swap the mozzarella for provolone or Monterey Jack if desired.
- Use Greek yogurt (thick) in place of some cream cheese for a tangier filling, but reduce liquid elsewhere.
- If you can’t find low carb tortillas, large lettuce leaves can work for a very low carb alternative.
Step-by-step instructions
- Heat a skillet or grill pan over medium and add the olive oil. Let the oil warm while you prepare the wraps.
- Microwave the tortillas for 10 to 15 seconds each, covered with a damp paper towel. This prevents cracking and makes them easier to roll.
- In a mixing bowl, combine the shredded chicken, mozzarella, cheddar, softened cream cheese, minced garlic, chopped parsley, salt, and pepper. If using spinach, fold it in now. Stir until the cream cheese coats everything evenly and the mixture is cohesive.
- Divide the chicken mixture into four portions. Place about 1/2 cup of the filling in the center of each warmed tortilla.
- Tuck the sides in and roll each tortilla tightly to form secure wraps. Press the seam to seal.
- Place the wraps seam-side down in the preheated skillet. Cook without moving them for 2 to 3 minutes per side, until the outsides are golden brown and the cheese inside is melted and slightly oozing.
- Remove from the skillet and let rest for 1 minute. Slice each wrap in half diagonally and garnish with extra parsley if you like. Serve hot.
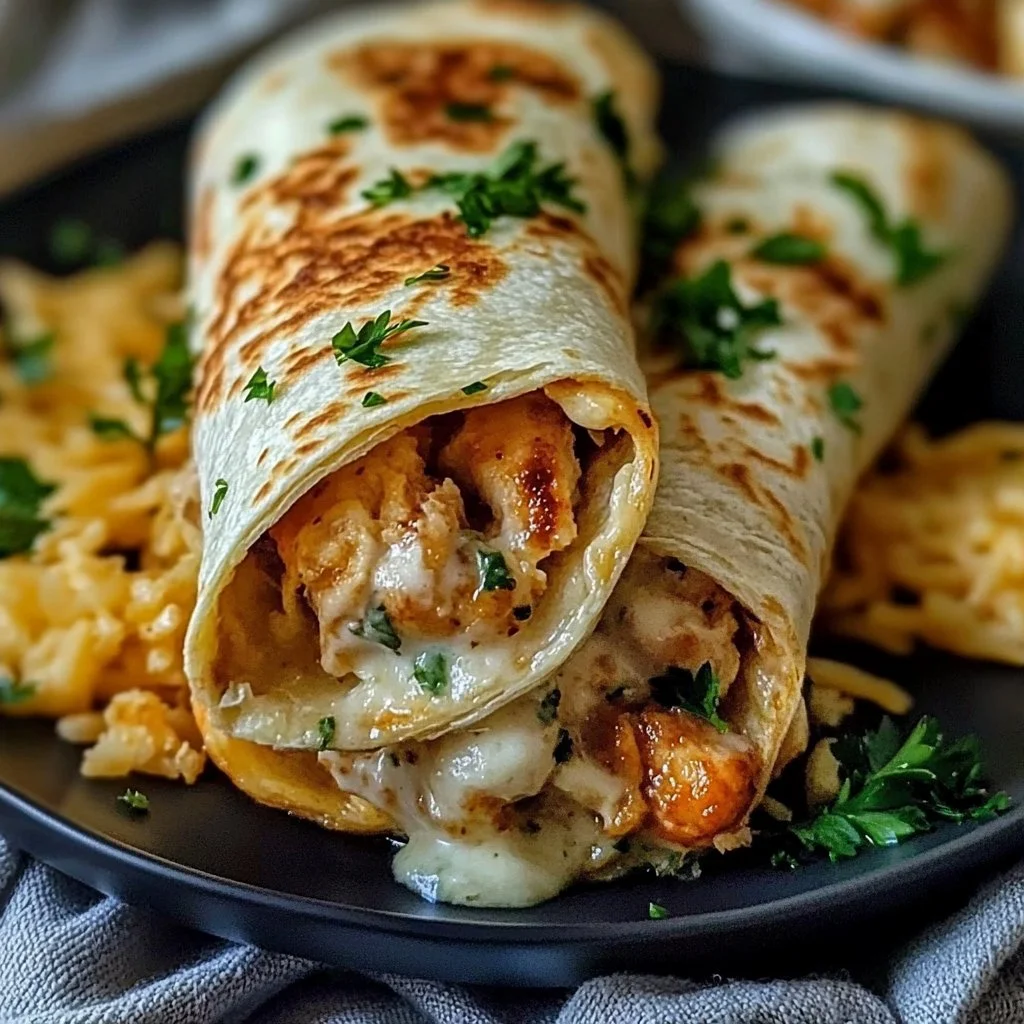
Best ways to enjoy it
These wraps work as a main for a quick dinner, a hearty lunch, or packed for a picnic if eaten soon after cooking. Pair ideas:
- A simple crisp salad with lemon vinaigrette to cut the richness.
- Roasted or air-fried vegetables for a warm side.
- Pickled jalapenos or a spoonful of salsa for a bright contrast.
For inspiration on extra cheesy or alternate versions, try this collection of extra cheesy garlic chicken wrap variations to spark new pairings.
Storage and reheating tips
- Refrigerator: Store cooled wraps in an airtight container for up to 3 days. Keep them uncut if possible to preserve moisture.
- Freezer: Wrap tightly in foil and place in a freezer bag for up to 2 months. Thaw overnight in the fridge before reheating.
- Reheating: For best texture, reheat in a 350°F oven or toaster oven for about 10 minutes or until heated through and the tortilla regains crispness. A skillet over medium heat also works; cook 2 to 3 minutes per side. You can microwave for 30 to 60 seconds if short on time, but the tortilla will be softer.
- Food safety: Refrigerate within two hours of cooking and reheat to 165°F if possible. Do not refreeze thawed leftovers unless they were reheated first.
Helpful cooking tips
- Shred chicken while it’s still warm; it pulls apart more easily.
- Let cream cheese sit at room temperature for 10 minutes before mixing so it incorporates smoothly.
- Don’t overfill the tortillas or they’ll burst while you sear them. Aim for roughly 1/2 cup filling each.
- Press the seam down in the skillet first to help seals stay closed. A light weight or spatula pressed gently works well.
- Use a nonstick or well-seasoned cast iron skillet to get even browning without sticking.
Creative twists
- Add spice: Mix in chopped roasted red pepper or a splash of hot sauce with the filling.
- Greens boost: Swap baby spinach for arugula for peppery notes.
- Dairy-free: Use dairy-free cream cheese and a dairy-free shredded cheese blend, but expect slightly different melt and texture.
- Crunch factor: After cooking, press lightly in a panini press or under a heavy skillet to get an extra crispy exterior.
- Wrap-free option: Pile the filling over a bed of greens or roasted vegetables for a low carb bowl.
Common questions
Can I use raw chicken instead of cooked?
Yes, but you’ll need to cook it first. Bake or pan-sear chicken breasts until they reach 165°F, then shred and use the same quantity. Using pre-cooked or rotisserie chicken saves a lot of time.
How long does it take to make from start to finish?
If you start with cooked chicken, plan on about 15 to 20 minutes total: 5 minutes to mix and assemble, and 8 to 10 minutes to pan-sear all wraps. If you need to cook chicken first, add 20 to 25 minutes.
Will the tortillas get soggy if I make them ahead?
They can soften over time. To minimize sogginess, cool the filling slightly before assembling, and store unheated wraps separated with parchment. Recrisp in a skillet or oven before eating. If you want to prep in advance, store the filling and tortillas separately and assemble just before cooking.
Can I make these gluten free?
Yes, use certified gluten free low carb tortillas or a gluten free wrap alternative. Check the labels to confirm carb content and ingredients.
Is this recipe keto friendly?
Yes, when made with low carb tortillas and without high carb add-ins, this recipe fits well into a lower carbohydrate or keto-style meal plan. Adjust portion sizes to fit your personal macros.
PrintLow Carb Cheesy Garlic Chicken Wraps

Quick and satisfying low carb chicken wraps filled with creamy cheeses and garlic, perfect for weeknight dinners.
- Prep Time: 10 minutes
- Cook Time: 10 minutes
- Total Time: 20 minutes
- Yield: 4 servings 1x
- Category: Main Course
- Method: Pan-Searing
- Cuisine: American
- Diet: Low Carb
Ingredients
- 2 cups cooked chicken breast, shredded
- 1 cup shredded mozzarella cheese
- 1/2 cup shredded cheddar cheese
- 2 cloves garlic, minced
- 1/4 cup cream cheese, softened
- 1 tablespoon olive oil
- 4 large low-carb tortillas or wraps
- 1 tablespoon fresh parsley, chopped
- Salt and pepper, to taste
- 1 handful baby spinach, optional
Instructions
- Heat a skillet or grill pan over medium and add the olive oil.
- Microwave the tortillas for 10 to 15 seconds each, covered with a damp paper towel.
- In a mixing bowl, combine shredded chicken, mozzarella, cheddar, cream cheese, garlic, parsley, salt, and pepper.
- Divide the mixture into four portions and place in the center of each warmed tortilla.
- Tuck the sides in and roll each tightly to form secure wraps.
- Place wraps seam-side down in the skillet and cook for 2 to 3 minutes per side until golden brown and cheese is melted.
- Remove from skillet, let rest for 1 minute, slice diagonally, and serve hot.
Notes
Best when served fresh, but can be stored in the refrigerator for up to 3 days. Use fresh ingredients for best flavor.
Nutrition
- Serving Size: 1 wrap
- Calories: 300
- Sugar: 2g
- Sodium: 600mg
- Fat: 18g
- Saturated Fat: 9g
- Unsaturated Fat: 8g
- Trans Fat: 0g
- Carbohydrates: 8g
- Fiber: 2g
- Protein: 25g
- Cholesterol: 70mg